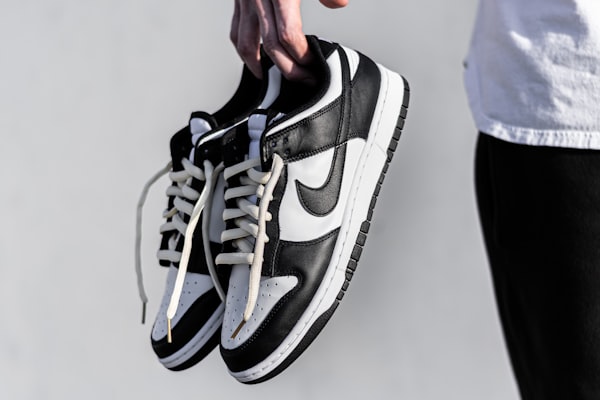
Attention all JROTC cadets! Are you tired of having lackluster, dull shoes? Having dull shoes in JROTC is like showing up to a parade with a deflated balloon - you might still be able to participate, but you're not the star of the show.
Polished shoes not only show that you take pride in your appearance, but it also demonstrates discipline and attention to detail.
But let's be honest, who wants to spend hours buffing and polishing their shoes like they're trying to make them shine brighter than a disco ball on New Year's Eve? Sure, shiny shoes are great, but it's not like the glare from your boots will blindside anyone.
Look no further if you want to know the easiest and most efficient way to shine your shoes. This guide has the answers. So, grab your supplies, and let’s get polishing.
Step 1: Gather Your Supplies
*As an Amazon Associate, I earn a small commission from qualifying purchases at no cost to you.
To clean and polish your shoes effectively, you'll need the following supplies:
- Dry Brush: A brush with firm bristles is essential for removing loose dirt and debris from the surface of the shoes. It will help you clean the seams and soles effectively.
- Clean Towel: A clean and dry towel is necessary for wiping down the shoes after brushing. It will help remove any remaining dirt or grime that the brush might have missed.
- Leather Cleaner (Optional): If your shoes are particularly dirty or haven't been cleaned for a while, a leather cleaner can be used to remove built-up dirt or grime stuck in the leather's pores. Consider using it before polishing.
- Polishing Cloth: Choose a soft, lint-free cloth specifically designed for polishing shoes. This cloth will be used to apply the polish evenly and buff the shoes to a shine.
- Shoe Polish: Select a high-quality shoe polish that matches the color of your shoes. Polish nourishes and protects the leather while giving it a nice shine. Make sure you have enough polish for the entire surface of your shoes.
- Non-Porous Sheet: It's a good idea to protect the surface you're working on with a non-porous sheet to prevent any mess.
- Water or Wax (Optional): If your shoes aren't shiny enough after the initial buffing, you can apply a small amount of water or wax for an extra shine. This step is optional but can make your shoes look brand new.

By gathering these supplies beforehand, you'll be well-prepared to clean and maintain your cheer shoes effectively.
Step 2: Clean Your Shoes
Before you start polishing your shoes, removing any dirt or debris from the surface is essential. This will ensure that the polish can penetrate the leather and provide an even shine.
Start by using the dry brush to remove any loose dirt or debris from the surface of the shoes. Pay extra attention to the seams and the soles, as these areas collect the most dirt.
Once you've removed as much dirt as possible with the dry brush, use the towel to wipe down the shoes. This will remove any remaining dirt or grime the brush might have missed. Be sure to use a clean and dry towel.
It's also important to note that if your shoes are particularly dirty or have not been cleaned for a while, you might consider using a leather cleaner before polishing. This will help remove any built-up dirt or grime that might be stuck in the pores of the leather.
Ensure the shoes are completely dry before moving on to the next step of applying the polish. You’ll want to air dry, as applying or exposing your shoes to heat (like a blow dryer or radiator) can dry out the leather.
This step is crucial as it will ensure that the polish will be applied to a clean surface, adhere better, and provide a better finish. Also, this step will remove any dirt or debris that might scratch the leather during the polishing process.
Step 3: Apply the Polish
Once your shoes are clean and dry, it's time to apply the polish. This step will help nourish and protect the leather while giving it a nice shine.
Start by taking a small amount of polish on the polishing cloth. It's essential not to use too much polish, making it difficult to buff the shoes to a shine later.
Use the polishing cloth to apply the polish to your shoes in small circular motions. Make sure to cover the entire shoe, including the laces and tongue. Applying an even coat of polish to the entire shoe surface is essential to ensure an even shine.
When applying the polish, pay extra attention to the areas of the shoe that are most prone to wear, such as the toes and heels. These areas will benefit the most from the nourishing properties of the polish.
Once you have applied the polish to the entire shoe, let it sit for a few minutes to allow it to penetrate the leather. This will help the polish provide your shoes with the best shine and protection.
Protecting the surface you’re working on with a non-porous sheet is a good idea. Protecting your surface simplifies clean-up, as some polishes can stain surfaces.
This step is essential as it will help nourish and protect the leather and provide a nice shine to your shoes. It's essential to use a small amount of polish and apply it evenly across the entire shoe surface to ensure an even shine.
Step 4: Buff the Shoes
Now that the polish has been applied and has had a chance to penetrate the leather, it's time to buff the shoes to a shine. This step will take a bit of elbow grease, but the final result is worth it.
Start by taking a clean and dry polishing cloth, and use it to buff the shoes in small circular motions. Apply firm pressure to the cloth and buff the entire shoe, including the laces and tongue.
As you buff, you'll notice the shoes starting to take on a shine. Continue buffing until the shoes are as shiny as you want. It's important to note that the amount of buffing required will depend on the condition of the leather and the type of polish you are using.
It's important to buff the shoes thoroughly, as this will help remove any excess polish and give the shoes a nice shine. Using a clean and dry polishing cloth is also essential to avoid scratching the leather.
Step 5: Finishing Touches
If the shoes are not shiny enough after the first round of buffing, you can apply a small amount of water or wax and buff them again. This will give the shoes an extra shine and make them look new.
On a Final Note
Congratulations cadets! You now have the shiniest shoes in the class! And remember, a shiny shoe is a sign of a sharp mind and a disciplined heart. So don’t let your shoes dull your image and shine them up. Happy shining!
Related Articles

